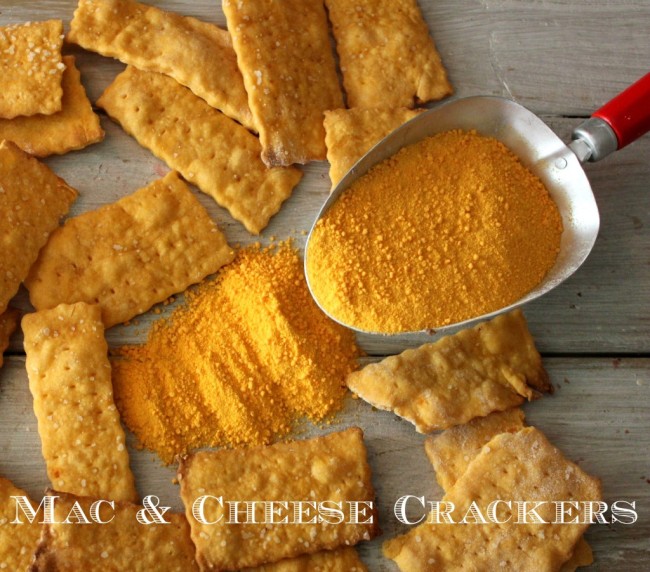
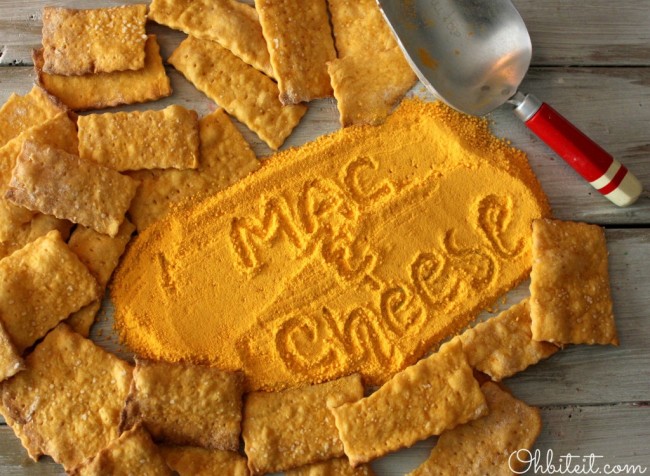
I have no idea how this happened, but somehow I found wayward Cheese powder packets from those Mac & Cheese boxes hanging out in my pantry..and not a noodle in sight! Strange, but it all worked out because those packets were on their way into the trash when BOOM, it hit me>>{{CRACKERS}}! Why not make a thin, crispy, salty Cracker, packed with only the BEST fake and artificial cheese-like “flavor” known to mankind?!
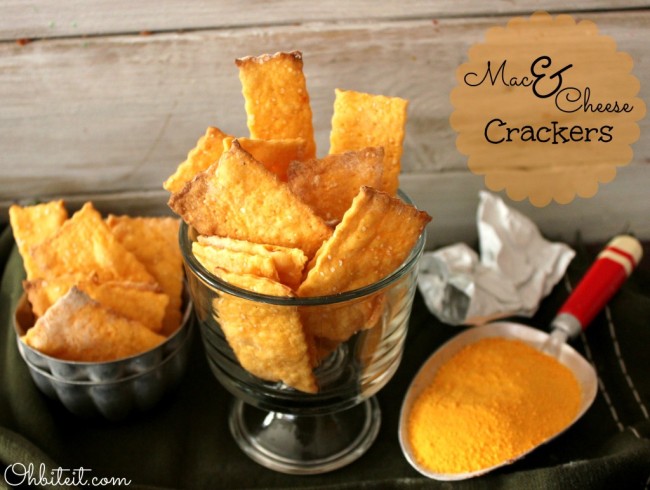
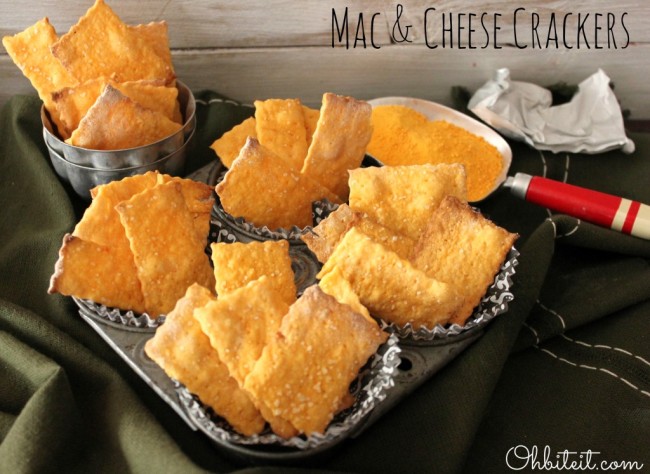
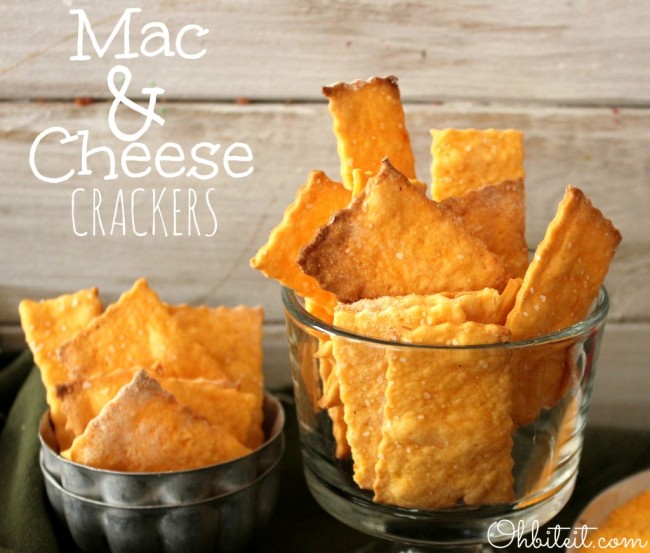
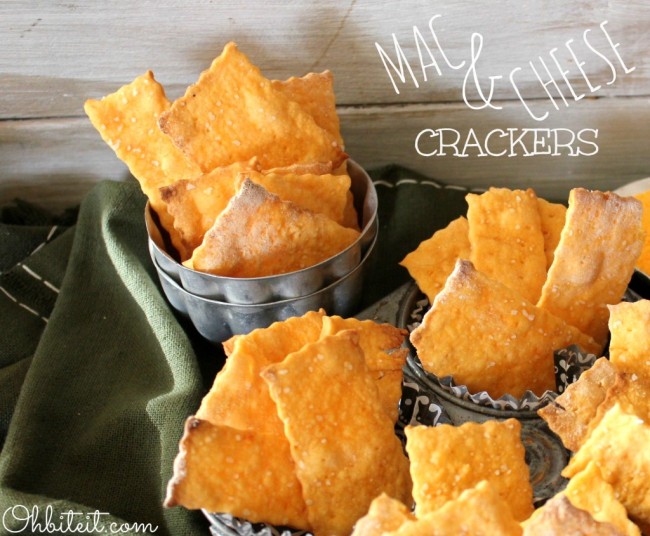
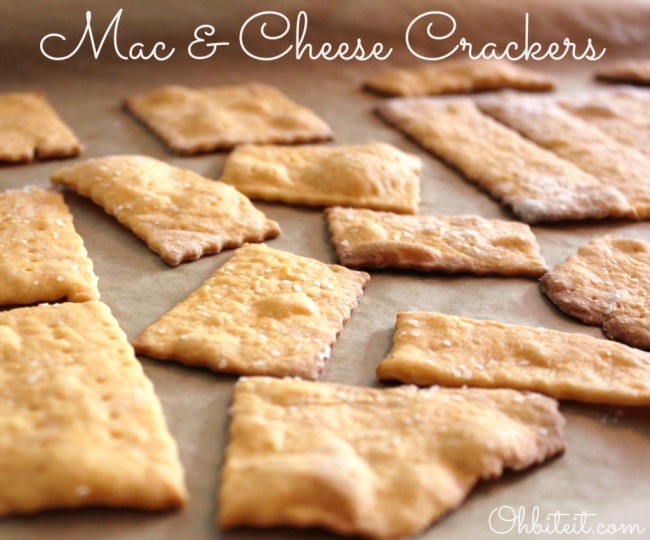
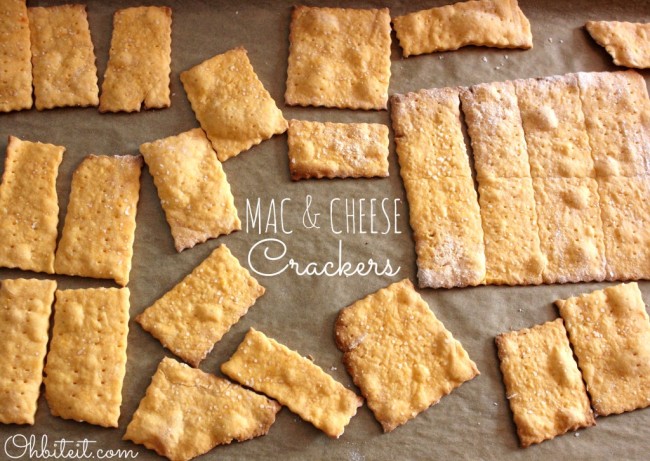
Mac & Cheese Crackers! These are almost as good as grabbing a handful of gooey Mac & Cheese and going about your business..minus the embarrassing sticky mess on your hands! 🙂
Who knew making crackers could be this simple?! Grab a Cheese Packet, take 15-ish minutes and you’ve got a huge batch to snack on..you will LOVE them, and the kids..OHGosh, they adore them!
I PROMISE..if I can do this, so can you, it’s so much fun!
What you’ll need (double accordingly for more):
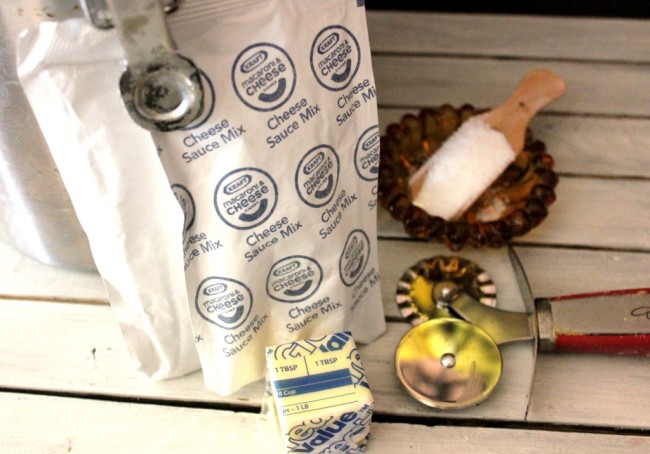
1 standard Cheese packet from the Mac and Cheese Box
3/4 cup Flour
2 tbsp. unsalted Butter
1/4 cup water (may vary, drizzle in slowly as needed)
A dash of salt
Water for brushing
A sprinkling of Salt for the tops
A food processor
Directions:
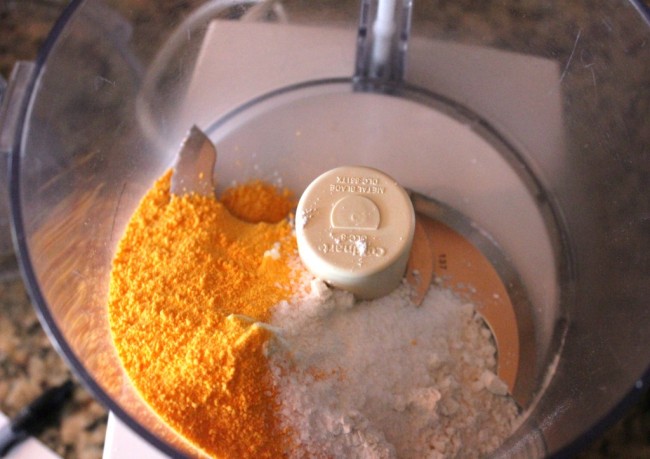
In the bowl of a food processor, pulse the cheese packet, flour and a tiny dash of salt to combine…
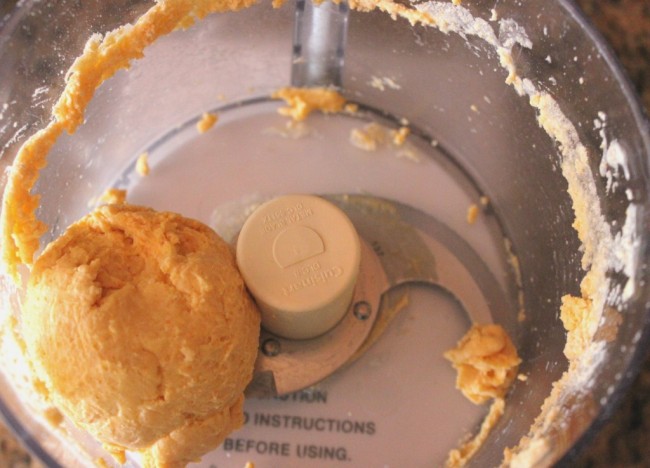
Add the melted butter and process until it’s a coarse meal, less than a minute.
Add the water slowly until you get a dough ball, about 1-2 minutes…
Turn it out onto a slightly floured work surface and knead it until it forms a moist dough. Line your baking sheet with parchment paper.
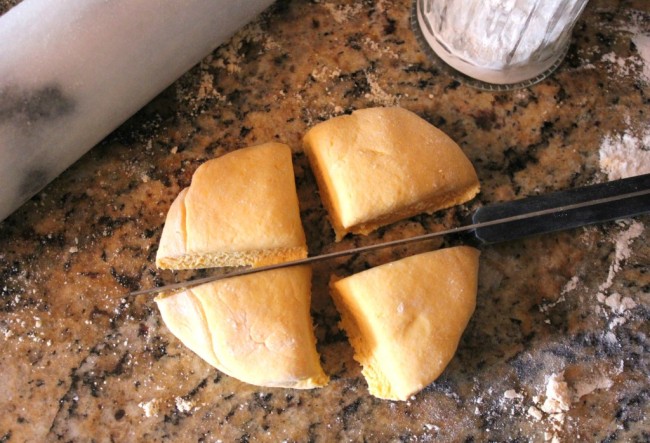
Divide the dough into quarters, work with one quarter at a time and roll thin..SUPER thin!
Brush the rolled out dough very lightly with water and sprinkle with salt.
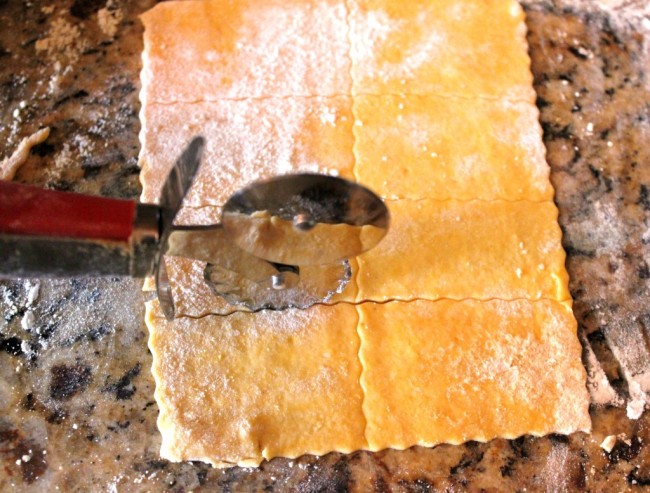
Cut the thin dough into “cracker shapes’..I went “rustic” (ugly)..lol! But you can do whatever shape you like!
Onto a parchment lined baking sheet and into the oven at 400 degrees for 8-10 minutes..keep an eye on them as they bake, they can burn…
Let them cool! They will crisp up as they cool…
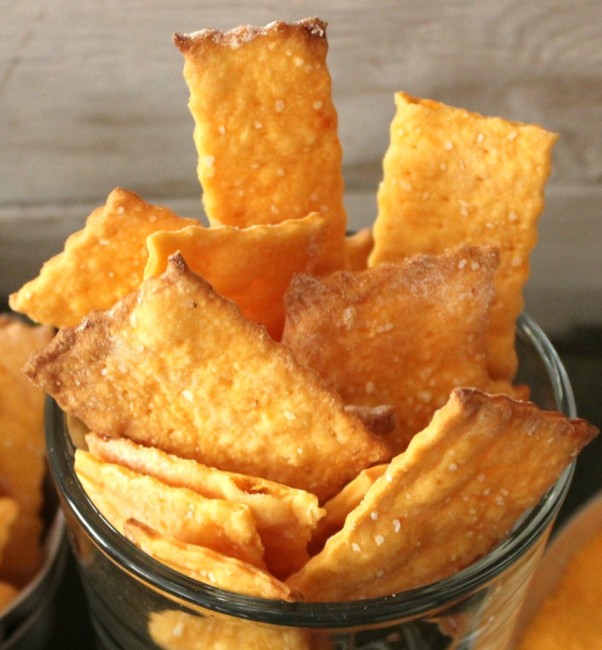
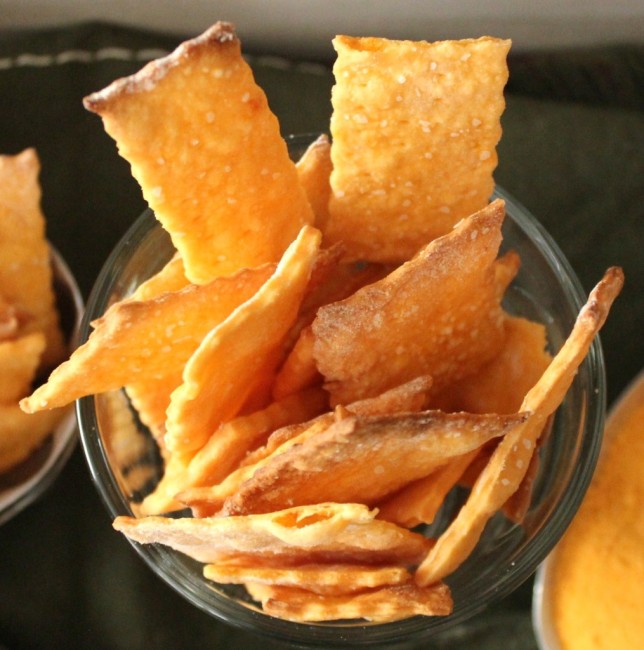
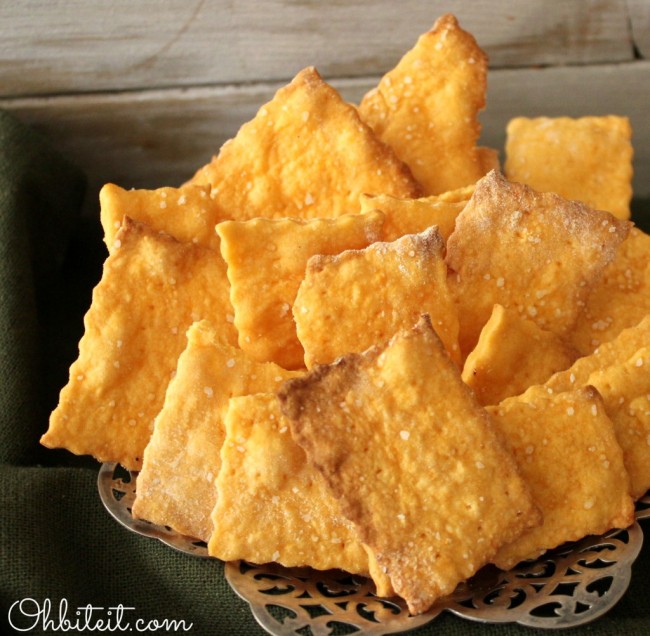
Pile them up and listen to everyone say “WOW”…
Then the grabbing starts…
And then silence, other than all the crunching..and giggling, of course!
~Enjoy! 🙂

No way! I never would have thought of this, but can’t wait to try it! Thanks for sharing!
quwetion for you what is the name of that tool you used to cut your Mac & Cheese Crackers? i need one!i can put it on my list.
I think it’s a “Ravioli Roller” thingy?! 🙂
Those look SO yummy & SUPER easy to make!!!! Even I might be able to make them I am NOT a good cook. Not as bad as the folks on Worse Cooks in America, but I’ve got A LOT of room for improvement!
I’m not a good cook either…just have fun with it. Surprisingly, most people will eat whatever you serve them..HAHA! 😉
I don’t buy the powdered mac ‘n cheese, but I might have to just to try this! I can get down on some Cheez-Its! 🙂
Is there any way to buy your cook book.
If I had one, there would be..lol ! 😉
Oh, I am going to try this as soon as KD (if you live in Canada that is what Mac and Cheese is called) goes on sale. This sounds like fun, and Amy and Tasha, cooking should be totally fun. Just play! And thanks everyone for the reviews. I always get such a kick out of the reviews that start something like this: “I tried the this recipe, followed it exactly, and it was awful! Way too much garlic! I hate garlic!” And I start to think – why on earth are you making “20 clove garlic chicken” if you hate garlic???? People are funny. Anyway, my addition to these crackers is going to be some cracked blacked pepper. Will let you know how they turn out!
Next time you make these, can you say how much cheese mix you use? You can buy the “cheese” in pound bags, and then you don’t find yourself eating naked noodles. Thank you!
Just tried these. The taste is awesome ! Perhaps not as crunchy as I would’ve like, but still, they taste like my childhood’s saturday lunches. Yum !
Any hint on how much cheese powder is in one of those packets? I buy cheese powder in bulk and would love to make this in both cheddar and blue cheese powder.
I’d say 1/2 a cup should work..let me know and good luck! 🙂
Turn down the oven to 350° – for a more uniform color, ie. burnt edges.